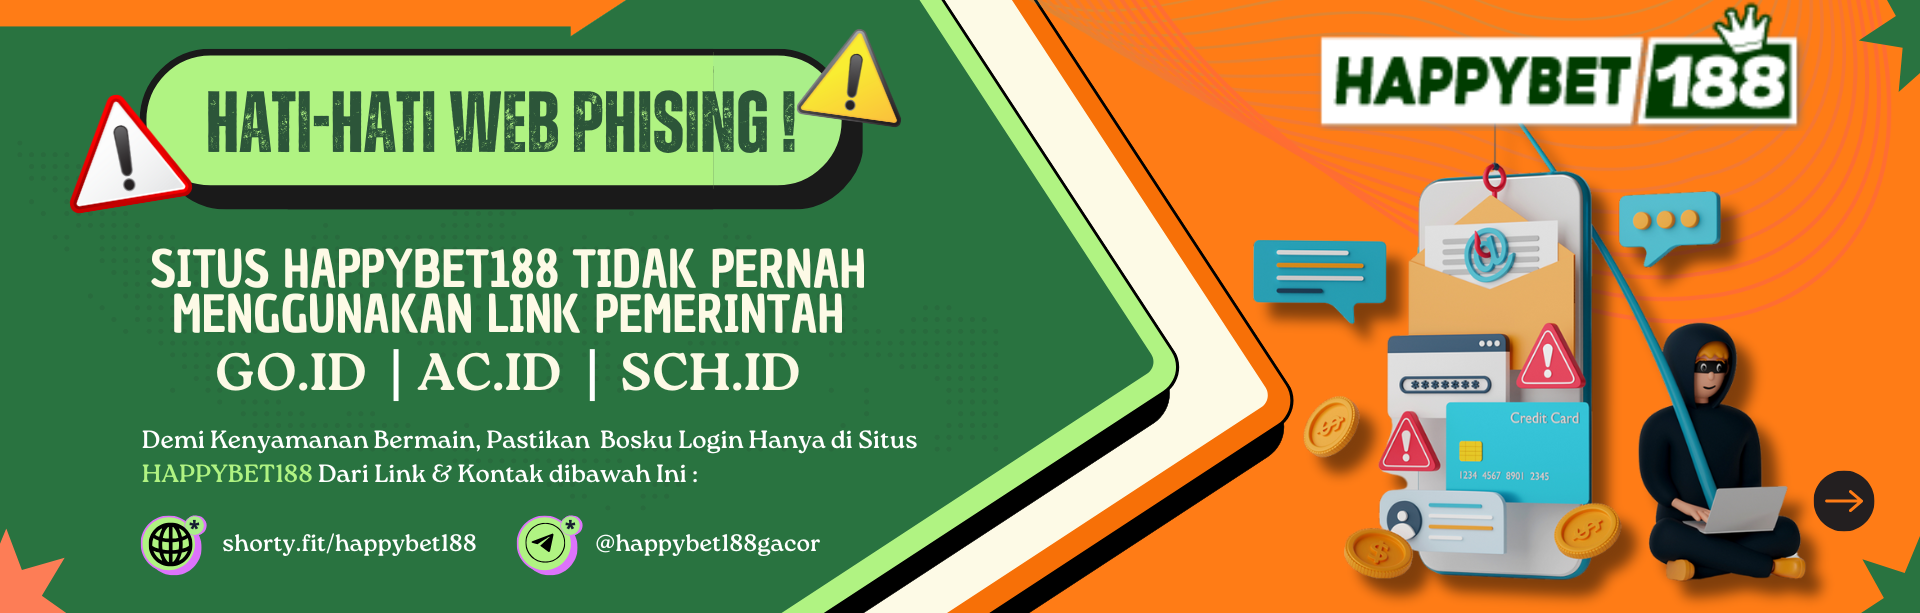
Bedding Styles That Are Cozy Winter Modern

Make your bed comfy and cozy with these modern bedding styles and ideas for winter. Relax and enjoy staying indoors cuddled up in your bedroom — nobody said you had to be alone…


Amazing Winter Modern Bedding Styles

Check Out These Cozy and Comfy Ideas


The winter season is here and it just makes us want to hide further inside the bedding layers and not deal with the cold world outside. A perfect bed is a must to make the whole room come to life and to unwind after work and lazy in on the weekends. However layering your bedding doesn’t in any way means that it can’t be cozy yet modern and stylish!

The Layered Trend

Add an extra layer of comforter and duvet to stay extra warm and on top of the layering trend. This season is all about fluffy bedding styles.

Stock up your pillow collection for this season. Adding a few extra pillows gives that added fluff and warmth to the bed which is just what we all need in this harsh winter. Having a large pillow collection also comes in handy when you want to change up your room a bit. Just throw in a few fun, quirky pillows and the whole vibe changes instantly!

Add Throws

Throw in a faux fur, nubby blanket in no particular order for that added texture and warmth. Let one end of it touch the floor and it just yells ‘come lets snuggle’
Keep a couple of these in your winter collection too to give the room a changed look with different colored throws

The Tassel-Pompom Trend

Adding to the throw trend, this season is all about incorporating latest clothing trends into bed sheets and comforters in one way or the other. Tassels and pompoms have been on a roll this year and the style is here to stay. Just add another layer or warm fuzzy sheet with tassels or pompoms hanging on the ends. Find a sheet that has a nice contrast with your comforter and voila! A chic new look to your bedroom.

Stock up on blankets

Just like pillows and throws, go get your blanket collection sorted! Blankets are what make the whole bed pop!  Add Egyptian cotton blankets (this can be used both in summers and winters) and wool blankets to your bedding list.

Colors and Patterns

A good color scheme is important to maintain a certain vibe of any room. Why must the bedding be left behind?! This season, change things up a bit by contrasting the colors. Keep the bedding in warm tones according to the overall theme of the room. This gives a very autumnal and warm feeling which makes any cold harsh day better. If you want to step aside from the norm, go all out and bring the color in. Throw in colored blankets and pillows to spice up any room. If you’re like me and you are into the white bedding trend but still want some color, throw in pillows of deep browns or burgundies. A white-lined bed with a colored blanket or pillows will look trendy yet classic.
If you’re someone who likes to be edgier than the rest, throw in some cushions with quirky patterns or sayings on them.


~Elena Juliet

Find Elena where she regularly blogs at mymattresspads.com


...

...


...

Share using our Hashtag!


Leave me a comment… I’d love to hear from you!

...

~Lorelai


Sign up today, and don't miss anything! Enjoy EXCLUSIVES, FREEBIES, and FUN.


...


Contact Lorelai at Lorelai@LifeWithLorelai.com


Pumpkin Carving Patterns DIY

DIY Pumpkin Carving Patterns

Drawing designs and creating my own Pumpkin Carving Patterns is how I spend my October, until it is finally time to begin the gutting and carving work. You can make your own patterns too. It matters not if the design is simple or extremely intricate, I follow the same process.

I keep a book of my pumpkin carving patterns. I draw on regular 8-1/2 x 11 inch printer paper, then place all of my drawings / patterns into page protectors and keep them in a three-ring binder. When I decide which patterns will be carved, I make a photo copy. The photo copy keeps my original drawing safe for future use, and allows me to not only take it out shopping for Perfect Pumpkin Picking, but change the size scale of the design to fit my pumpkin needs. Photo copies are also great for pumpkin carving parties!

Pumpkin Carving Patterns: The Process

  1. Decide on a Design.
  2. Draw it lightly (free-hand, tracing, however works best for you) using a pencil and good eraser.
  3. Evaluate your design for areas of silhouette and carving.
  4. ALWAYS  BE THINKING as you plan your pattern. You do not want to cut out the whites of your eyes just to have your pupils fall out! Remember that things need to connect to keep your design in tact (we’ll go over this more later).
  5. Pumpkin Carving Patterns are like photograph negatives. What is light on the pattern will be dark when the pumpkin is lit. That means that the black areas will be what gets cut-out, and the white areas will be left alone. The differing shades of grey will be scraped or carved down in varying degrees–the lightest areas with the least scraping and the darker areas with the most scraping. (see the graphic below under the carved designs section)

I have two examples for you, the “Witch Walking a Cat” is a silhouette design (like “Hocus Pocus“), where the “Owl Witch on a Broomstick” is more of a carved design (like “Brunhilda“).

The Silhouette:

Think of the silhouette as something that is backlit. So, the main design will be black or dark with light shining around the design.

    • Create an area for your back-lighting. You can see in the first image above, that I drew a line around my design.
    • Figure out if there will be any areas that are completely cut out or shaded. In this case, the only complete cut-out is the eyes of the owl. The owl also has a tiny bit of shading.

  • Refine the lines of the design.
  • Shade accordingly.

Some of these types of designs will have large cut-out areas, this pumpkin carving pattern is darkly shaded. It will get a deep scraping to allow the light to silhouette the design.

The Carved Design:

Carved designs will have multiple layers of carving, from nothing at all to barely scraped to medium and deep scrapings to complete cut-outs. When you create these patterns, you need to have a way to differentiate the various areas of carving depths. As mentioned above, patterns are like negatives and as such, the white areas will be the areas with the skin left in tact, and the black areas will be cut out. I use stripes and shading to identify the other varied depths of carving for my Pumpkin Carving Patterns.

White areas with stripes will be barely scraped. Shaded areas with stripes will be heavily scraped. The more stripes (on white or black), the more scraping is done. White areas with double striping would not be scraped as much as a lightly shaded area.

So, let’s walk through the steps of creating a carved design pattern.

  • The carved design can sometimes stand on its own without a carved or scraped area around it. I chose to create more of a scene for the Owl Witch on a Broomstick; and therefore, drew a line around the owl. I added clouds and a partial moon to set the scene.
  • Decide what areas will be cut out or scraped.
  • PAY CLOSE ATTENTION to what you are wanting to cut out so that you do not detach parts of your design by mistake. (ie. Pupils in eyes. In the Owl Witch the pupils are set in the middle of the eyes. If the whites of the eyes were cut out, the pupils would fall out too, so the whites are deeply scraped instead. If you want to cut out the whites of the eyes, draw your pupils on the edge of the whites so the cut out part would not be a full circle, leaving the pupils attached.)

  • You also want to be sure to attach the design so it does not collapse. You will notice above how there are cut-out areas beneath the wings, but the broomstick is attached at the handle and at the broom end. Also, the area above the wings and around the hat are very deeply scraped instead of cut away providing stability to the design.

I hope you found this Pumpkin Carving Patterns DIY Tutorial informative and helpful. Let me know if I can clarify or answer any other questions you may have.

Have you ever made your own Pumpkin Carving Patterns?

Do you have a design in mind that you’d like to try?


...

...


...

Share using our Hashtag!


Leave me a comment… I’d love to hear from you!

...

~Lorelai


Sign up today, and don't miss anything! Enjoy EXCLUSIVES, FREEBIES, and FUN.


...


Contact Lorelai at Lorelai@LifeWithLorelai.com

     
Exit mobile version